Guide to Integrating Home Assistant Google Cmake DNS Server Addon
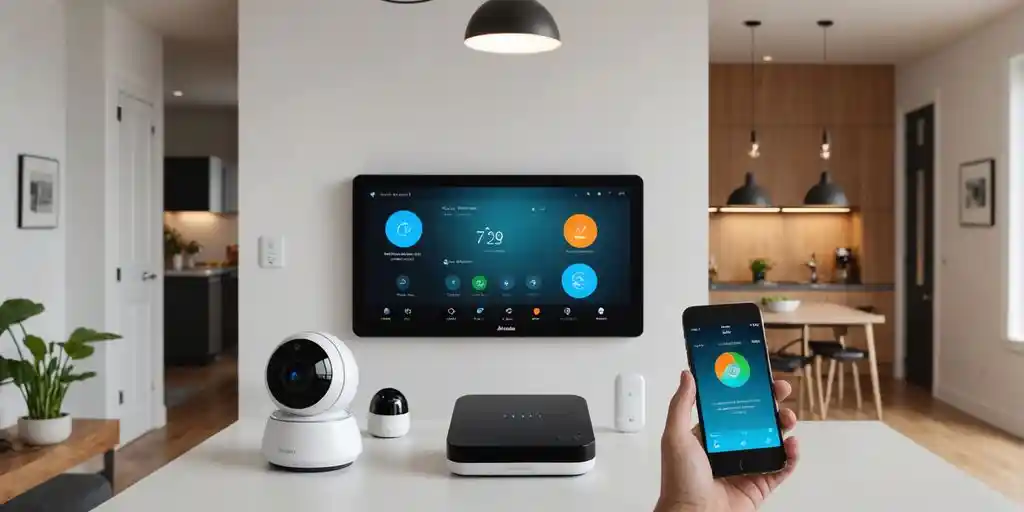
Integrating Home Assistant with Google can seem tricky, but with this guide, you’ll be able to do it step-by-step. You’ll learn how to prepare your Home Assistant, set up a Google Cloud project, and link everything together. By the end, you’ll have a seamless smart home experience.
Key Takeaways
- Make sure your Home Assistant is accessible from outside your home network with a hostname and SSL certificate.
- Create a new project in Google Cloud Platform to link your Home Assistant and Google Assistant.
- Set up OAuth credentials to ensure secure communication between Home Assistant and Google.
- Home assistant google cmake dns server addon and authorize it using the OAuth credentials.
- Use the Google Home app to link Home Assistant, assign devices to rooms, and create automations.
Preparing Your Home Assistant Google Cmake DNS Server Addon
To get started with integrating Home Assistant with Google, you need to prepare your Home Assistant setup. This involves a few crucial steps to ensure everything runs smoothly.
Creating a Project in Google Cloud Platform
To start integrating Home Assistant with Google, you need to create a project in Google Cloud Platform (GCP). This project will store settings, computing resources, credentials, and metadata for your app.
Starting a New Project
- Go to the Google Cloud Platform Console.
- Click on Select a project and then New Project.
- Enter a name for your project and click Create.
- Note down the Project Name and Project ID for future reference.
Configuring the Smart Home Action
- Navigate to the Actions on Google Console.
- Click on New Project and give your project a name.
- Select the Smart Home card and click Start Building.
- Under Quick Setup, select Name your Smart Home action and give it a name.
- Go back to the Overview tab and select Build your Action.
- Click on Add Action(s) and enter your Home Assistant URL in the Fulfillment URL textbox: https://[YOUR_HOME_ASSISTANT_URL:PORT]/api/google_assistant.
- Click Save.
- In the upper right corner, click on the three dots (more) icon and select Project settings.
- Make a note of the Project ID listed on the General tab.
Setting Up Fulfillment URL
- In the Actions on Google Console, go to the Build tab.
- Click on Actions and then Add your first action.
- Select Smart Home and click Next.
- Enter your Home Assistant URL in the Fulfillment URL field: https://[YOUR_HOME_ASSISTANT_URL:PORT]/api/google_assistant.
- Click Save.
- Go to the Test tab and click Start Testing.
Important: Make sure your Home Assistant is externally accessible with a hostname and SSL certificate before proceeding. This ensures Google can reach your server.
Setting Up OAuth Credentials
To integrate Home Assistant with Google, you need to set up OAuth credentials. This process involves creating an OAuth Client ID, configuring the consent screen, and generating service account keys. Follow these steps to get started.
Creating OAuth Client ID
- Go to the Google Developers Console and enable the Google Assistant API.
- Click on Create project, enter a project name, and select Create.
- Navigate to APIs & Services > Credentials.
- Click on Create credentials and select OAuth Client ID.
- Set the Application type to Web application and give it a name, like “Home Assistant Credentials.”
- Add https://my.home-assistant.io/redirect/oauth to the Authorized redirect URIs and click Create.
- Note down the Client ID and Client secret that appear in the pop-up.
Configuring Consent Screen
- In the Google Developers Console, go to APIs & Services > OAuth consent screen.
- Select External and click Create.
- Set the App name to something like Home Assistant.
- Choose a Support email from the dropdown menu.
- Enter your email address under Developer contact information.
- Click Save and continue through the Scopes and Test users pages without adding anything.
- On the Summary page, click Back to dashboard.
- Go back to the OAuth consent screen and set the Publishing status to In production.
Generating Service Account Keys
- In the Google Cloud Platform Console, go to APIs & Services > Credentials.
- Click on Create credentials and select Service account.
- Enter a name for the service account and click Create and Continue.
- Choose Service Account Token Creator from the Role list and click Done.
- Click on the service account you just created, go to the Keys tab, and click Add Key > Create new key.
- Choose JSON and click Create. A JSON file containing the keys will be downloaded.
- Rename the file to SERVICE_ACCOUNT.json and keep it safe.
Setting up OAuth credentials is crucial for allowing Home Assistant to access your Google Account. Make sure to follow each step carefully to avoid any issues.
Integrating Google Assistant with Home Assistant
Integrating Google Assistant with Home Assistant allows you to control your smart home devices using voice commands. Follow these steps to set up the integration.
Adding Google Assistant Integration
To add the Google Assistant SDK service to your Home Assistant instance, use this My button:
Manual configuration steps:
- Browse to your Home Assistant instance.
- Go to Settings > Devices & Services.
- In the bottom right corner, select the Add Integration button.
- From the list, select Google Assistant SDK.
- Follow the instructions on screen to complete the setup.
Entering OAuth Credentials
After adding the integration, you need to enter the OAuth credentials:
- Continue through the steps of selecting the account you want to authorize.
- If your Google account settings are set to a language not supported by the SDK, the authorization will fail. Change the language to one that is supported by the SDK to continue.
- You may get a message telling you that the app has not been verified. Acknowledge this to proceed.
- Review the details of what you are authorizing Home Assistant to access and click Continue.
- The page will now display Link account to Home Assistant?. If everything looks good, click Link Account.
- You may close the window and return to Home Assistant where you should see a Success! message.
Authorizing Home Assistant
Once the OAuth credentials are entered, you need to authorize Home Assistant:
- Select the account you want to authorize.
- If you encounter an error due to language settings, change the language to one supported by the SDK.
- Acknowledge any messages about the app not being verified.
- Review the authorization details and click Continue.
- Click Link Account if everything looks correct.
- Return to Home Assistant to see the Success! message.
Note: If you face any issues during the setup, ensure your Home Assistant instance is accessible over the internet with an HTTPS connection.
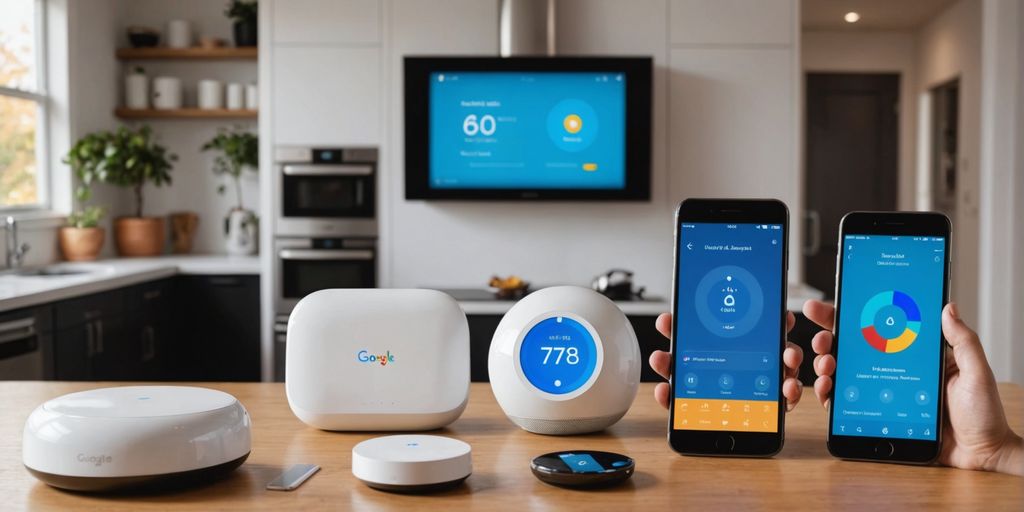
Configuring the Google Home App
Linking Home Assistant to Google Home
To start, download and install the Google Home app on your Android or iOS device. Sign in using the same Google account you used to create the project in Google Console. Follow these steps to add Home Assistant to the Google Home app and enable voice control using Google Assistant:
- Tap on the + icon and choose Set up device > Works with Google.
- Select [test] Home Assistant (or the name you gave your project). This will open your Home Assistant web page.
- Enter your Home Assistant login credentials and tap Login. You should see a message saying, “Home Assistant linked.”
- The app will display all the entities configured in your Home Assistant server.
- Choose the devices you want to control using Google Assistant and complete the setup.
Assigning Devices to Rooms
Once your devices are linked, you will see all your rooms and the devices in them in the Google Home app. You can now assign devices to specific rooms for better organization. This helps in managing and controlling devices more efficiently.
- Open the Google Home app.
- Tap on the device you want to assign to a room.
- Select the room from the list or create a new one.
- Repeat for all devices to ensure they are properly organized.
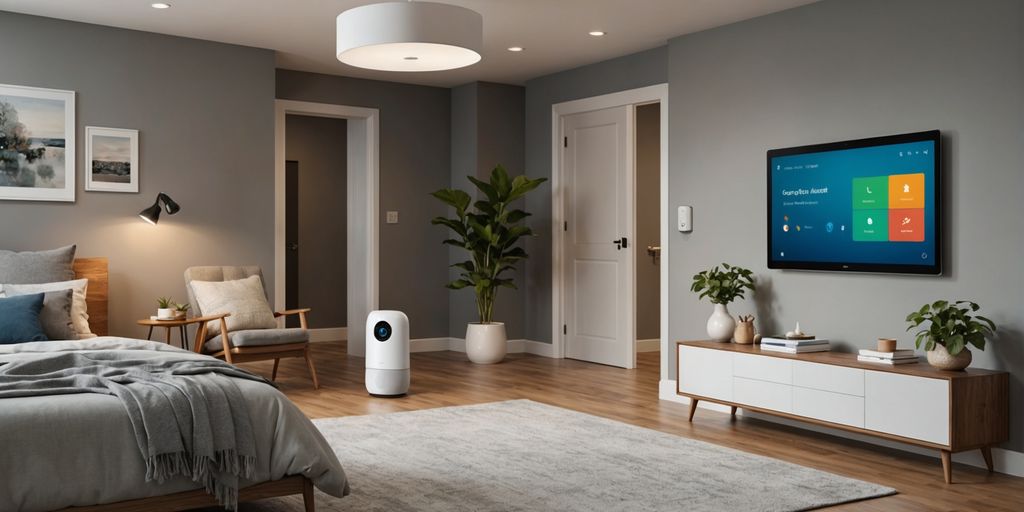
Setting Up Automations
You can set up automations using the Google Home app based on various parameters. This allows you to create routines that can control multiple devices with a single command.
- In the Google Home app, tap on Routines.
- Choose a trigger, such as Bedtime, and then you may type a custom voice command or keep the default values.
- Under Actions, tap + Add action.
- Choose Adjust Home devices and select the smart devices configured in Home Assistant.
- Select further options and tap Add action, then Save.
With these steps, you can transform your home into a smart, automated environment, making daily tasks easier and more efficient.
Advanced Configuration Options

Enabling Local Fulfillment
Local fulfillment allows your Google Assistant to communicate directly with your Home Assistant without going through the cloud. This can speed up response times and improve reliability. To enable local fulfillment, follow these steps:
- Open the project you created in the Actions on Google console.
- Select Develop on the top of the page, then select Actions located in the hamburger menu on the top left.
- Upload JavaScript files:
- Download app.js from the provided link.
- Select the Upload JavaScript files button.
- Upload the app.js file targeting Node and Chrome.
- Check the box Support local query under Add capabilities.
- Add device scan configuration:
- Select + New scan config if no configuration exists.
- Select MDNS.
- Set MDNS service name to _home-assistant._tcp.local.
- Add a new field with the value .*\._home-assistant\._tcp\.local.
- Save your changes.
- Restart all your Google Assistant devices or wait for 30 minutes.
- Restart Home Assistant Core.
- Say “OK Google, sync my devices” to your Google Assistant device.
Enabling local fulfillment can be helpful to avoid issues, especially if you are enabling it sometime after adding cloud Google Assistant support.
Managing Device Sync
Managing device sync ensures that your Home Assistant and Google Assistant are always in sync. This is crucial for keeping your devices updated. To manage device sync:
- Use the command “OK Google, sync my devices” regularly.
- Ensure that your Home Assistant is always running the latest version.
- Check for any errors in the Home Assistant logs and resolve them promptly.
Handling New Devices
When you add new devices to your Home Assistant, you need to make sure they are also recognized by Google Assistant. Here’s how to handle new devices:
- Add the new device to your Home Assistant configuration.
- Restart Home Assistant to apply the changes.
- Say “OK Google, sync my devices” to update Google Assistant with the new device.
- Verify that the new device appears in the Google Home app and is functioning correctly.
By following these steps, you can ensure that your smart home setup remains efficient and up-to-date.
Troubleshooting Common Issues
When integrating Home Assistant with Google, you might encounter some common issues. Here are some troubleshooting tips to help you resolve them.
Failed Linking
If you see the error message “Could not update the setting. Please check your connection” after logging into your Home Assistant instance, try these steps:
- Set expose_by_default: false in your configuration.
- Expose a single simple device, like a light or switch.
- Ensure any home ad blocker is disabled.
- Clear your browser history and cache.
Connection Problems
Connection issues can be frustrating. Here are some tips to resolve them:
- Make sure your Home Assistant server is on the same network as your Google devices.
- Check if your speakers are not in Do Not Disturb mode.
- Verify that your proxy settings in NGINX do not have a trailing / in the proxy_pass line. It should look like this:
proxy_pass http://localhost:8123;
Verifying Configuration
To ensure your integration is working correctly, you can:
- Check My Google Activity for issued commands and their responses.
- Make sure your OAuth credentials are correctly set up.
- If commands don’t work, try removing extra words. For example, say “play rain sounds on bedroom speaker” instead of “play rain sounds on the bedroom speaker.”
Recognizing common mistakes and paying attention to details can lead to a successful integration, enhancing your smart home experience.
Final Words Home Assistant Google Cmake DNS Server Addon
Integrating Home Assistant with Google can seem a bit tricky at first, but it’s totally worth it. Once you get everything set up, you’ll be able to control your smart home devices with just your voice. This guide has walked you through the steps, whether you’re using Home Assistant Cloud or setting it up manually. Remember, the key is to ensure your Home Assistant is securely accessible from the internet. With patience and careful following of the steps, you’ll have a seamless smart home experience. Happy automating!
Frequently Asked Questions
What do I need before starting the integration?
You need to have your Home Assistant server accessible from outside your home network with a hostname and SSL certificate. You can use DuckDNS and Let’s Encrypt or a Cloudflare Tunnel for this.
How do I create a project in Google Cloud Platform?
Go to the Actions on Google Console, click on ‘New Project,’ name your project, and follow the prompts to set up a Smart Home action. Add your Home Assistant URL in the Fulfillment URL section.
What are OAuth credentials and why do I need them?
OAuth credentials are used to securely link your Home Assistant with Google Assistant. You’ll need to create an OAuth Client ID, configure the consent screen, and generate service account keys.
How do I link Home Assistant to the Google Home app?
Open the Google Home app, tap the ‘+’ icon, choose ‘Set up device,’ and select ‘Works with Google.’ Find your Home Assistant project, log in, and follow the prompts to link your devices.
What should I do if I encounter connection problems?
Check your SSL certificates, ensure your Home Assistant URL is accessible from the internet, and verify your OAuth credentials. Sometimes, DNS changes can take up to 48 hours to propagate.
Can I use Home Assistant Cloud for easier setup?
Yes, Home Assistant Cloud offers a simpler setup process without needing to manage SSL certificates or open ports. However, it requires a paid subscription after a 30-day free trial.