DIY Retail Display Shelves: Simple and Budget-Friendly Store Makeover Ideas
Transforming your store doesn’t have to break the bank or involve complicated renovations. With creativity and DIY magic, you can breathe new life into your retail space.
In this guide, we’ll explore simple and budget-friendly makeover ideas. We’ll center around one of the most versatile elements of any retail store: the retail display shelves!
Get ready to roll up your sleeves and give your store a fresh, new look without spending a fortune! Let’s start!
Materials Needed
We know you’re excited! But before diving into the different ideas, let’s first gather the needed materials:
- Wood planks or boards
- Nails and hammer
- Screws and drill
- Sandpaper
- Paint or stain
- Paintbrushes
- Level
- Measuring tape
Now you have your materials. Let’s get started on transforming your retail display shelves!
Rustic Wooden Shelves
One of the most versatile DIY options is simple wooden planks or slatwall panels. This creates a rustic and natural look.
Step 1: Measure and Cut Wood
Measure the length of your desired shelf and cut the wood plank to size using a saw. Repeat this for all shelves you plan to create.
Step 2: Sand and Stain/Paint
Using sandpaper, smooth out any rough edges. Once sanded, you can stain the wood or paint it with your chosen color. For a rustic feel, try using distressed or white-washed paint.
Step 3: Attach Shelves to Wall and Decorate
Using a level and measuring tape, mark where you want your shelves to be placed on the wall. Ensure they are evenly spaced and level. Using nails and a hammer or screws and a drill, attach the wood planks to the wall.
Use your imagination to arrange products on each shelf in an eye-catching way. Incorporate plants, baskets, or other decorative elements to add texture and dimension.
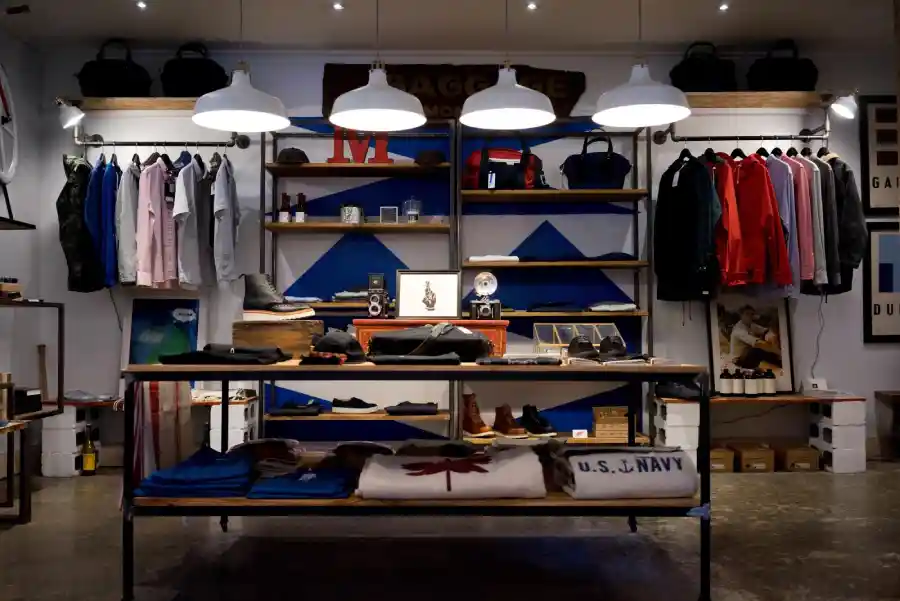
Industrial Pipe Shelves
Consider using pipes and wood planks if your store has a more industrial theme. You will need pipes, pipe fittings, and wood planks.
Step 1: Assemble Pipe Frame
Using the pipe fittings, assemble your desired shape for the frame. This could be a simple rectangular shape or a more intricate design. Make sure to tighten all fittings securely.
Step 2: Measure and Cut Wood Planks
Measure and cut the wood planks to fit as shelves between the pipe frame. Sand down any rough edges.
Step 3: Attach Shelves to Pipe Frame and Decorate
Using screws and a drill, attach the wood planks to the pipe frame. Once everything is securely attached, decorate and fill your shelves with products.
Floating Shelves
Consider creating floating shelves for your retail store design for a modern, minimalist look. You can purchase floating shelf brackets at most hardware stores or online. These are perfect for showcasing smaller or lighter items.
Step 1: Mark Placement and Attach Brackets
Mark where you want your shelves placed using a level and measuring tape. Ensure they are evenly spaced and level. Following the instructions provided with the brackets, attach them securely to the wall.
Step 2: Slide in Wood Planks and Decorate
Once attached, simply slide in your desired wood planks to create the shelves. Now it’s time to arrange and style your products on the shelves. Consider using decorative items or a color scheme of your choice to enhance the display.
Unlock the Full Potential of Your Store with DIY Retail Display Shelves
With these DIY shelving, your retail display shelves are not just storage spaces. It’s a canvas for your creativity and brand identity.
Remember, the best retail display shelves reflect your store’s unique character and vision. It makes every visit memorable for your customers!
Ready to transform your space? Visit our blog for even more tips and tricks!